Determined to make a substitute for plastic cling wrap and foil, today's post is to share lessons learned from making beeswax wraps. In case you've got the crazy idea to make your own beeswax wraps, I made all the mistakes so you don't have to. I hope I can save you some trouble.
Tip #1: Don't make wraps with nothing but beeswax. Wraps made with pure beeswax alone are brittle and don't cling at all. If you're a beekeeper with a Warré Hive and tried this method, the 100% beeswax wrap "fails" are fantastic between the top bars and quilt!
Tip #2: A little oil provides flexibility, so your wraps bend without cracking. A wax/oil version is a great foil substitute. It's bendy and holds its shape but doesn't make an airtight seal. Stay away from cooking oils with short shelf lives. I like meadowfoam, which is a North American native wildflower. It has a longer shelf life than jojoba oil.
Tip #3: Resin is what puts the cling in DIY cling wrap. It gives it some stickiness. If you're wondering about using propolis—the resin-like substance made by bees—at the amount needed to create cling, it imparts a strong odor and bitter taste to wrapped items. And I mean really bitter. Invest in pine resin in powder form; chunk form takes too long to melt, which degrades your wax/oil. A 1-pound bag of pine resin will make about 12 dozen wraps. (If you find a smaller bag for less than $15, please let me know!)
If you're ready to embark on making your own, my formulation makes an extra sticky blend for beeswax wraps that actually work! I'm providing volume measurements for convenience but, especially if small-batch crafting, I highly recommend a quality digital scale like a MyWeigh, which is accurate to a tenth of a gram.
DIY Beeswax Wraps Recipe
Makes ~(5) 12"x12" wraps.
60 g. beeswax (about 1/2 c. pastilles)
20 g. pine resin (about 2 1/2 Tbsp.)
12 g. jojoba (1 Tbsp) oil
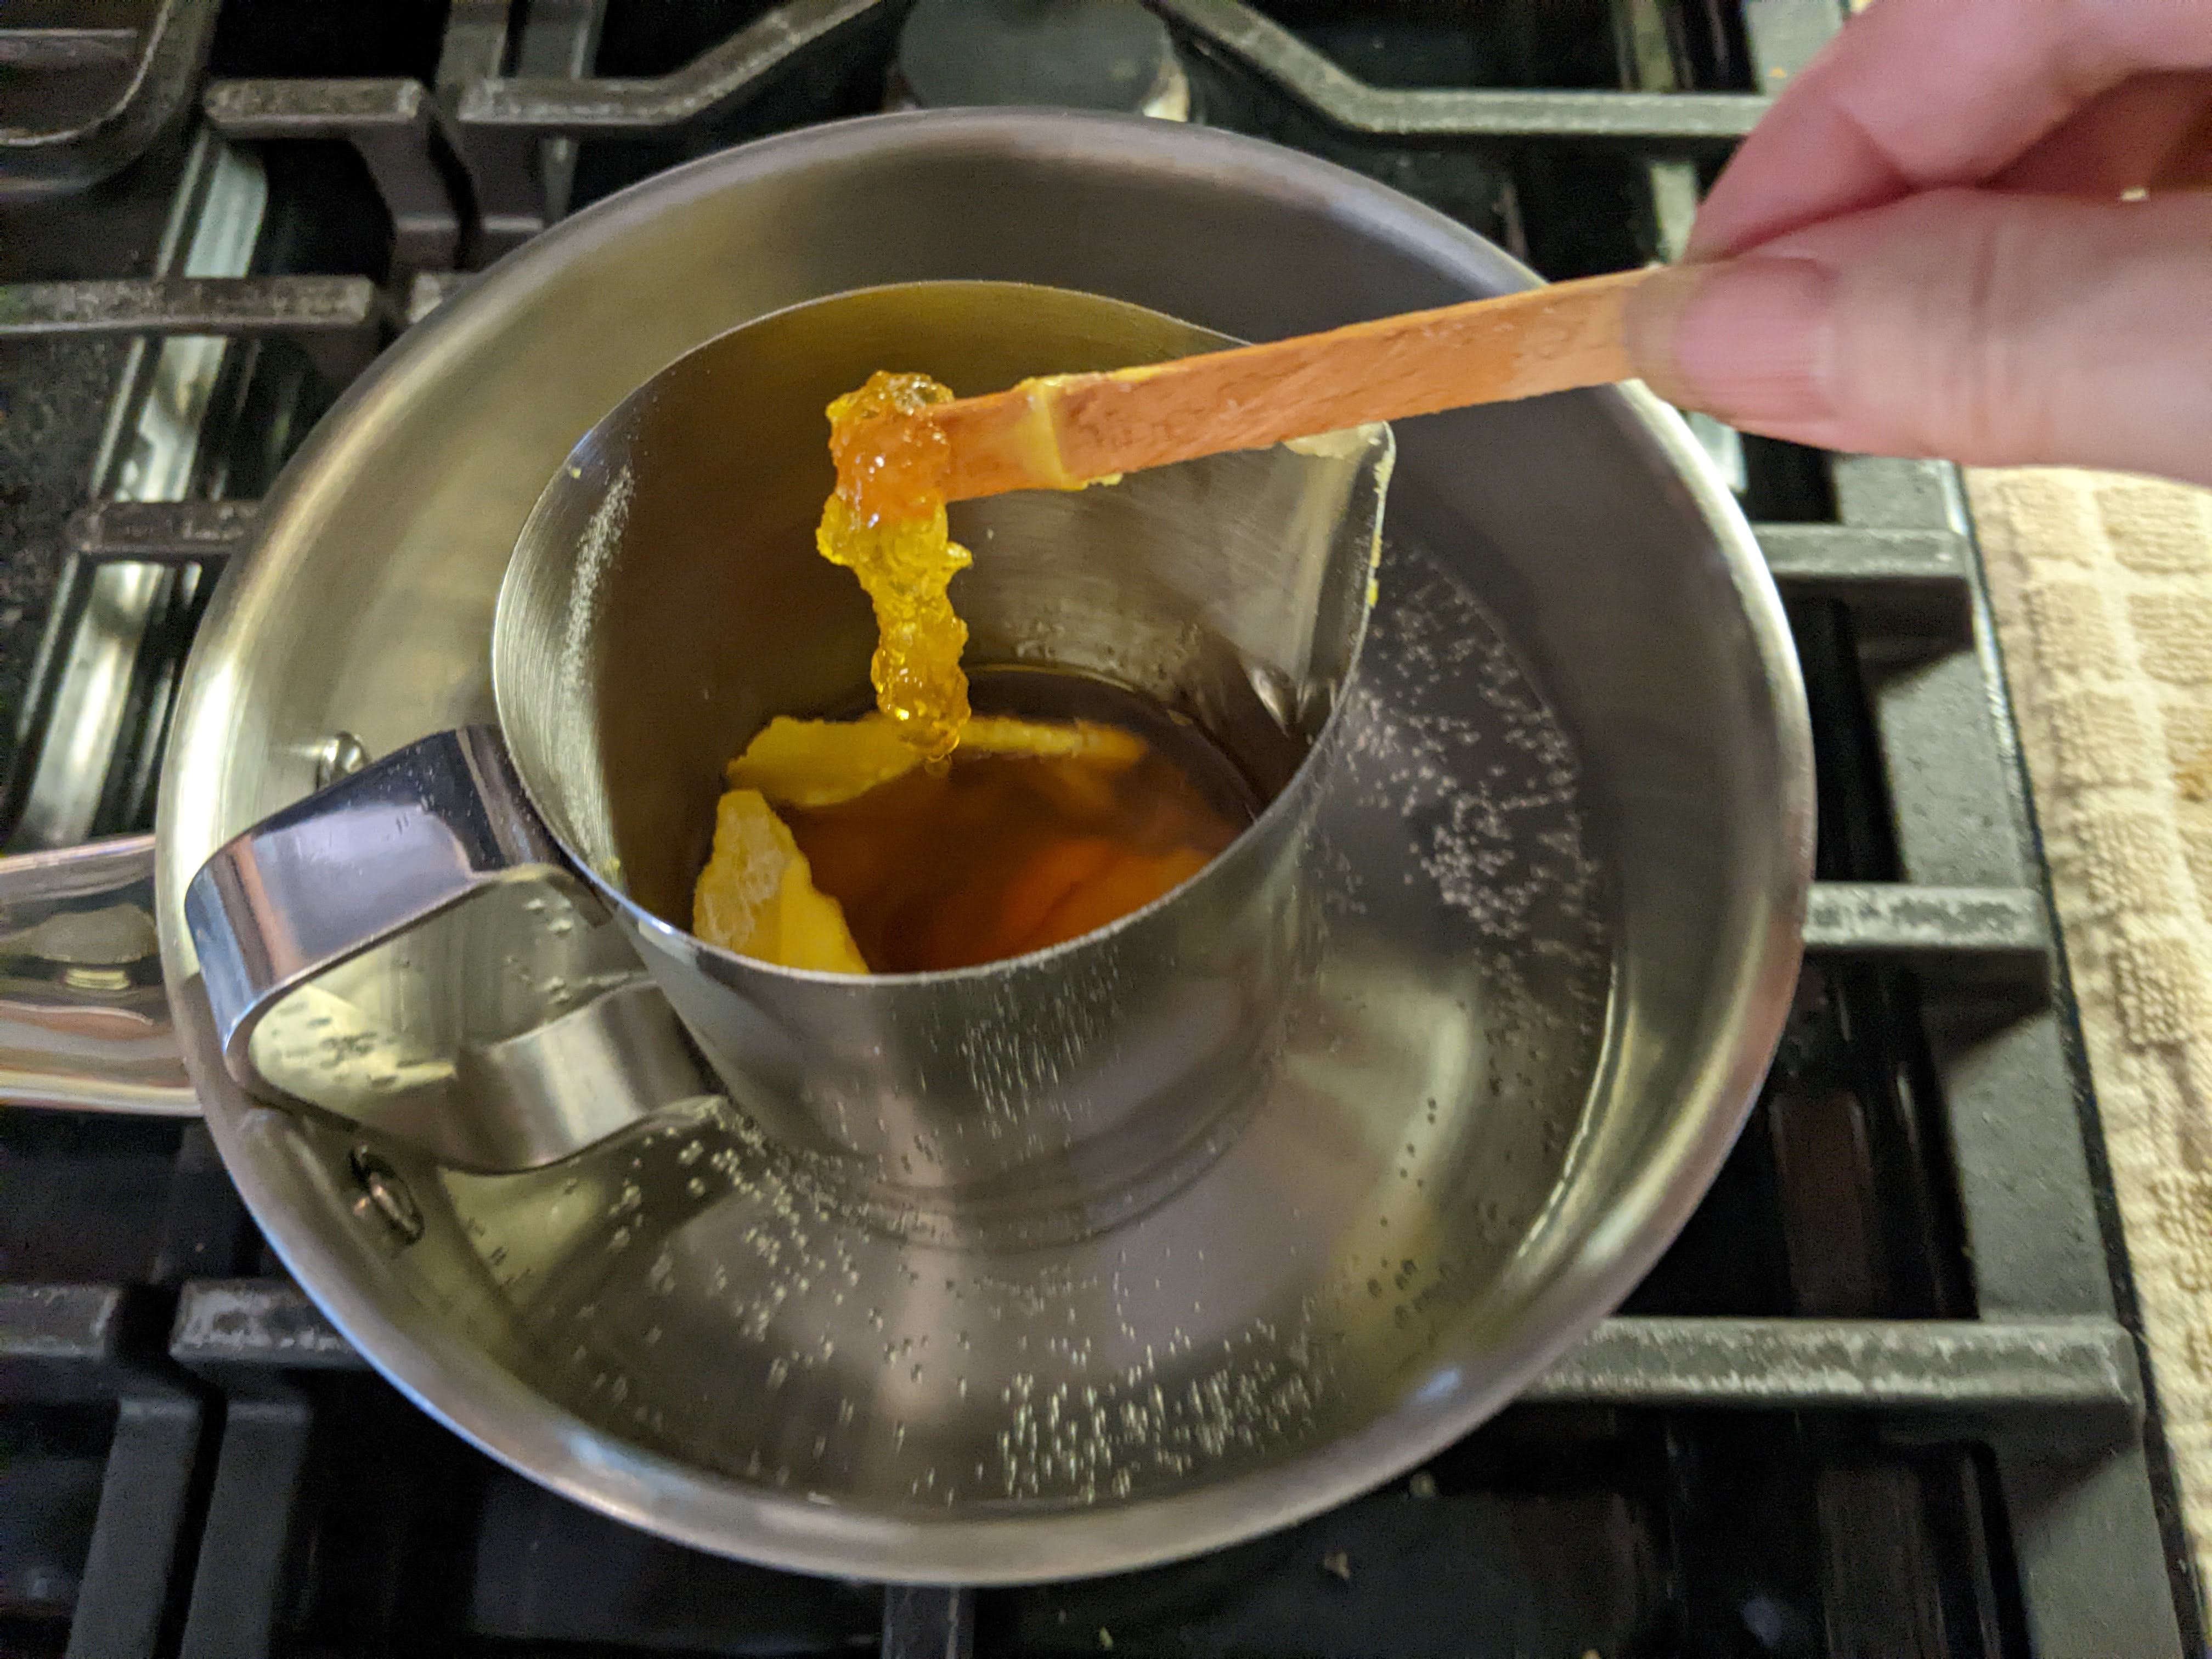
Melt everything together using a water bath, stirring until completely blended. I use a milk frothing pitcher set in a small sauce pot over medium heat, and it takes about 15-20 minutes to make sure the resin is completely dissolved. The resin sinks to the bottom, so you'll know it's fully dissolved when you don't feel your stirring tool dragging anymore. Double-check that there aren't globs stuck to your stirrer, though.
 |
| PRO TIPS: Resin needs a good amount of heat to melt. Maintain a high simmer. Wet your resin powder with the carrier oil first, to help prevent clumping. |
Instead of brushing the liquid mixture onto fabric, I pour it thinly
into molds. Once set, I pop out a few wafers and iron them into fabric
that's in-between sheets of parchment paper. You want to barely saturate
the fabric, but if you put on too much just use the iron to push the
excess out past the fabric edges (but still inside the parchment
sheets). Using another piece of fabric to absorb it, it's almost zero waste and cleanup is a breeze. This is especially why I love the wafer/iron method.
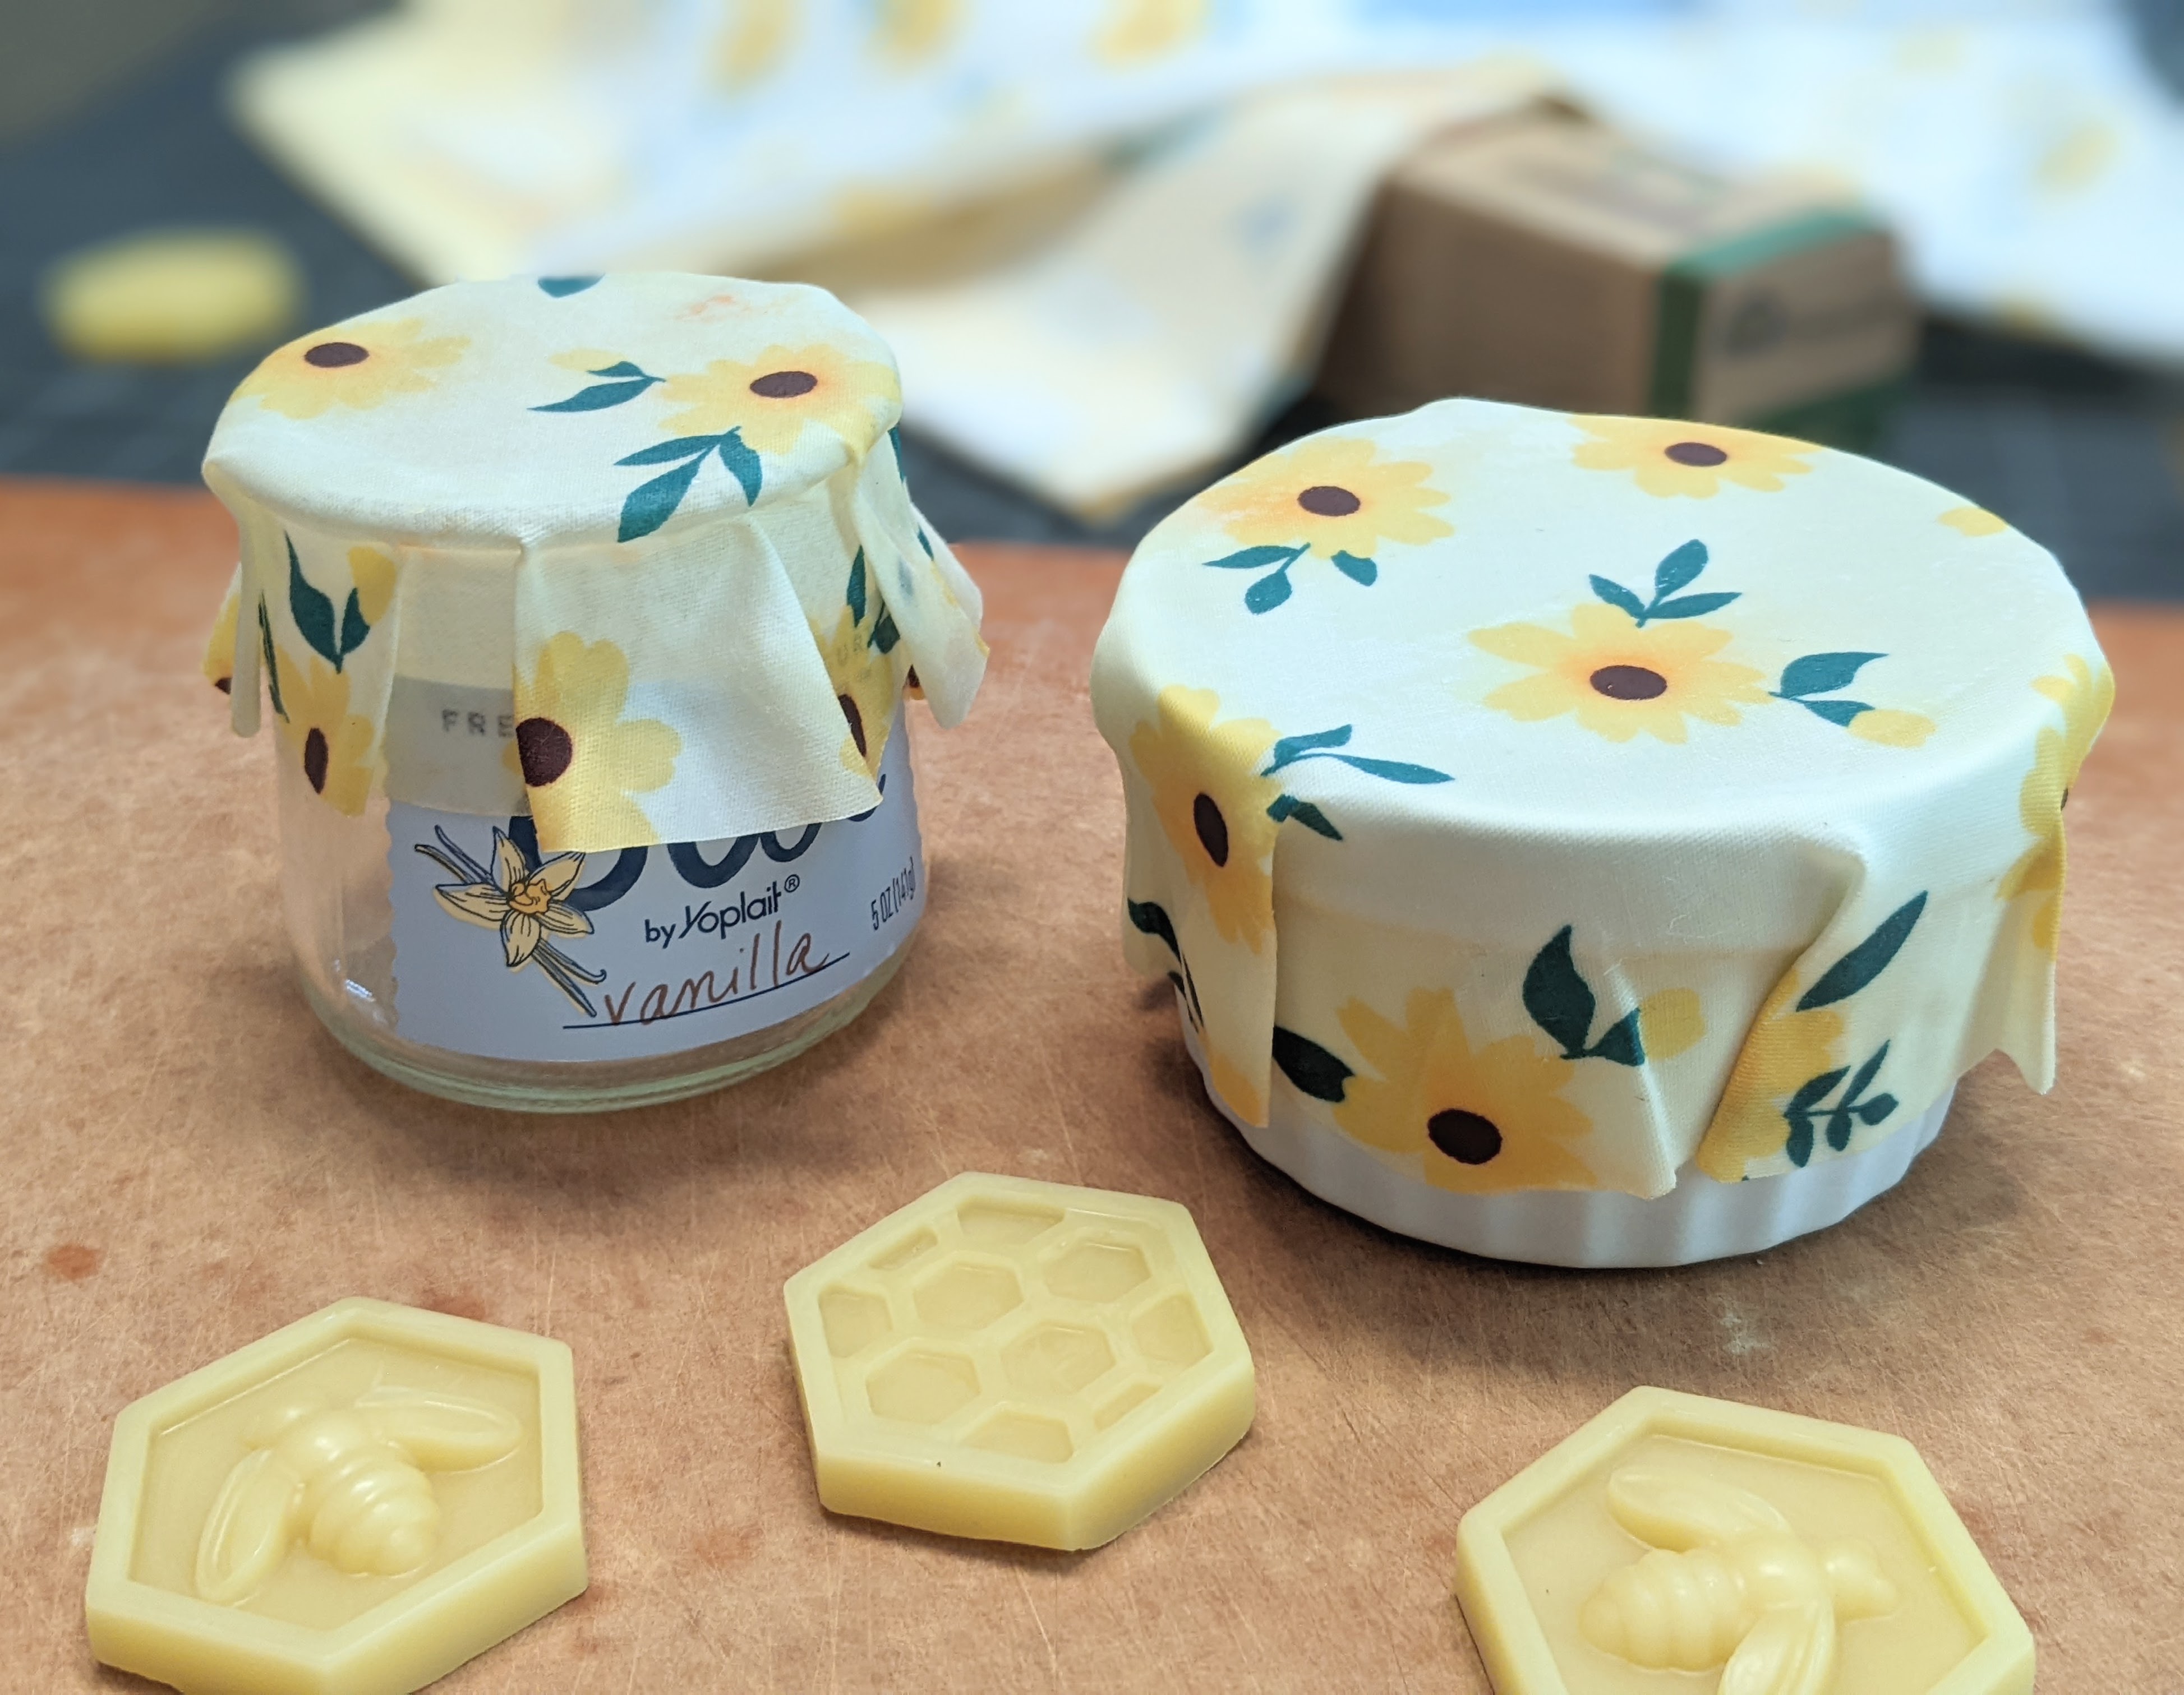
Beeswax Wraps Wafers
Quick to melt, three wafers will treat a large piece of tight-weave fabric. My first beeswax wraps were made out of an old but high-quality cotton percale pillowcase, upcycling at its best. An economical option is remnants at your local fabric store (mine is Joann), or buy quilting squares or fat quarters are cute and fun.
 |
| I prefer to wax my fabric first and cut it to size afterward, which minimizes fraying. |
Use a rotary cutter or
pinking shears if you have them. Either will reduce fraying but you'll always have loose threads… don't pull them! You can hem the edges if you're sewing the fabric into a baggie.
 |
| It's easy to pinch pieces off the wafers, to ensure even coverage. You move the pools of wax with your iron so you don't have to be perfect or precise. Be sure to place a piece of parchment paper underneath and on top. |
Because my friends say things like, "You should sell these on Etsy," you can buy my Beeswax Wraps Waxing Wafers, four for $4.
If you'd rather not spend $15 for resin and make 144 wraps, then these ready-to-use waxing wafers are for you! If you have year-old wraps that have lost their stickiness and need a refresh, these waxing wafers are for you! Or if you have beeswax wraps that weren't sticky enough in the first place, these waxing wafers are for you!
My Beeswax Wraps Waxing Wafers are four for $4 (plus cost to mail). Four wafers will make up to nine (9) wraps with plenty leftover for touch-ups. Depending on how you cut it, from one quilting square you can make:
- three 7x7" (small) and two 10x13" (medium) wraps
- 3 small, (1) 7x13" (rectangular medium), and (1) 13x13" (large) wrap
- 3 small and 1 extra-large 13x20" wrap (perfect for covering a lasagna pan with handles)
Remember, you're not limited to squares or rectangles. I find rounds to be the most versatile. The cast-offs make terrific fire starters, and I mean terrific. 🔥 Or don't cut the quilting square at all, and sew it into a plastic-free baggie. The possibilities are endless.
BONUS TIP for making it to the end of this post: Making DIY, and indeed using, beeswax
wraps is messy business. Rubbing alcohol will clean up drips and smudges, and hand sanitizer is your skin's best friend.